
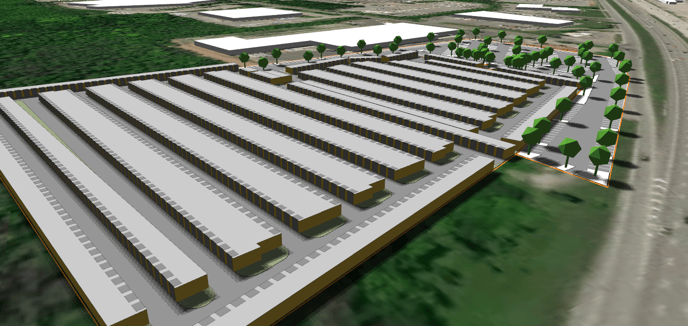
Outdoor, drive-up type facilities like the one below can be created using the Townhomes preset from the Lower Density configurator
Follow the steps below to create a site with a single size unit layout.
- Define your site and apply the Townhomes preset from the Lower Density configurator
- Remove the Retention space by selecting it and clicking the trash can icon.
- Adjust your setback in the zoning layer or in 2D as required.
- From the housing layer, adjust the unit width & unit depth to the appropriate size of your storage units (we'll use 10'x20').
- Toggle endcaps, and balconies off, and lower the levels to 1.
- You can leave garages turned on if you'd like to visually represent the storage unit doors. We'll make them more realistic looking in step 10.
- Set the floor to floor height to your desired storage unit height.
- Set house front setback, row gap size, and side green buffer to 0'-0".
- In the drive layer, set the back to back buffer to 0'-0" and adjust the corner angle threshold, drive isle width/turn radius to your required dimensions.
- Click the change button beside row axis if the alignment of your units isn't as desired
- If you left garages on,
- head back to the housing tab, and click edit units, click convert to kits of parts from the dialog box that opens, click the unit, lower the garage inset value to 5'-0" (lowest value applicable), modify the door width if necessary, give your unit a new name.
- head back to the housing tab, and click edit units, click convert to kits of parts from the dialog box that opens, click the unit, lower the garage inset value to 5'-0" (lowest value applicable), modify the door width if necessary, give your unit a new name.
- Define a new name for your storage unit and click save locally.
- Click back to database and then back to site.
Video