How Do I Create a Preset and Where is it Saved?
Define parameters for a building to apply to future sites.
- Garage & Stall conditions
- Building parameters
- Unit mix
- Unit databases
- Modifications to Verticals
- Added Spaces
- Dock parameters
- Parking requirements
- Drive aisle parameters
- Block length
Creating a Preset:
- Apply a provided default preset to a site.
- Adjust the parameters (stalls/units/verticals/etc.) to meet the site requirements.
- Select the region layer in the Navigation Tree, give the preset a name at the bottom of Properties Panel, and click Save to cloud.

Once your preset is created, you'll see it listed in the preset menu. You can now apply it to any of your sites.

Applying a Preset to an Existing Site
Once you've saved your preset to a site you'll be able to apply it to future sites in other deals. You can search for them by typing out a their name:
![]()
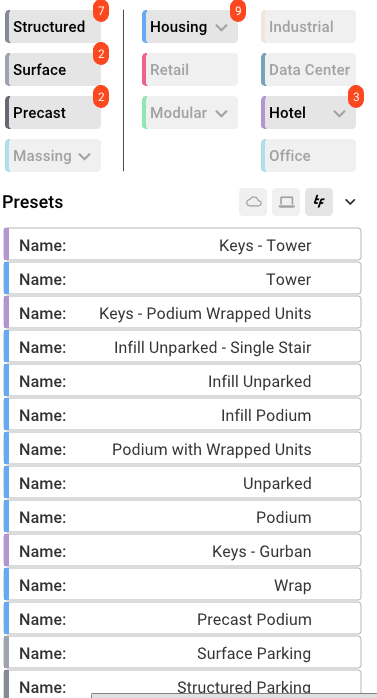
Your saved presets are now only saved to the cloud. You will notice three locations when filtering for presets:
1. Use Cloud Presets: Your newly created presets can be toggled on/off by clicking the cloud icon![]()
2. Use Custom Presets: Any presets you may have created prior being able to only save presets to the cloud can be toggled on/off by clicking the laptop button (these presets are saved locally)![]()
3. Use Default Presets: The TestFit default presets come with the product and are your essential starting point. You can toggle them on/off by clicking the TF button![]()
NOTE: Manual mode edits and setbacks are not saved within a custom preset.
