Creating a custom Garden building
Steps showing how to use image underlays to create custom Garden buildings.

The following steps will allow you to use image underlays to create custom garden buildings.
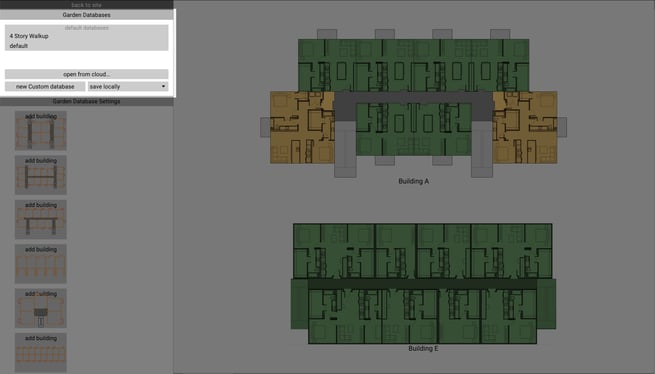
- Lay out a site using the garden configurator.
- Click the Garden Housing layer
- Click Edit Units in the Properties Panel below to go into the unit editor.

- Select the add building tile that is blank at the bottom of the list.

- Select the image you want to use
- Scale the image.
- Once the image is placed, adjust the width and depth of the box to match the building.

- Define the Color, Floors, Stalls Provided, Area (gross), NRSF, and number of units.
- Click Back to database in the upper right, then save the database.

- Once the database is saved, go back to the site, and you can now place the new footprint.
