

There are 3 ways to manually draw an easement:
1. Draw the easements boundary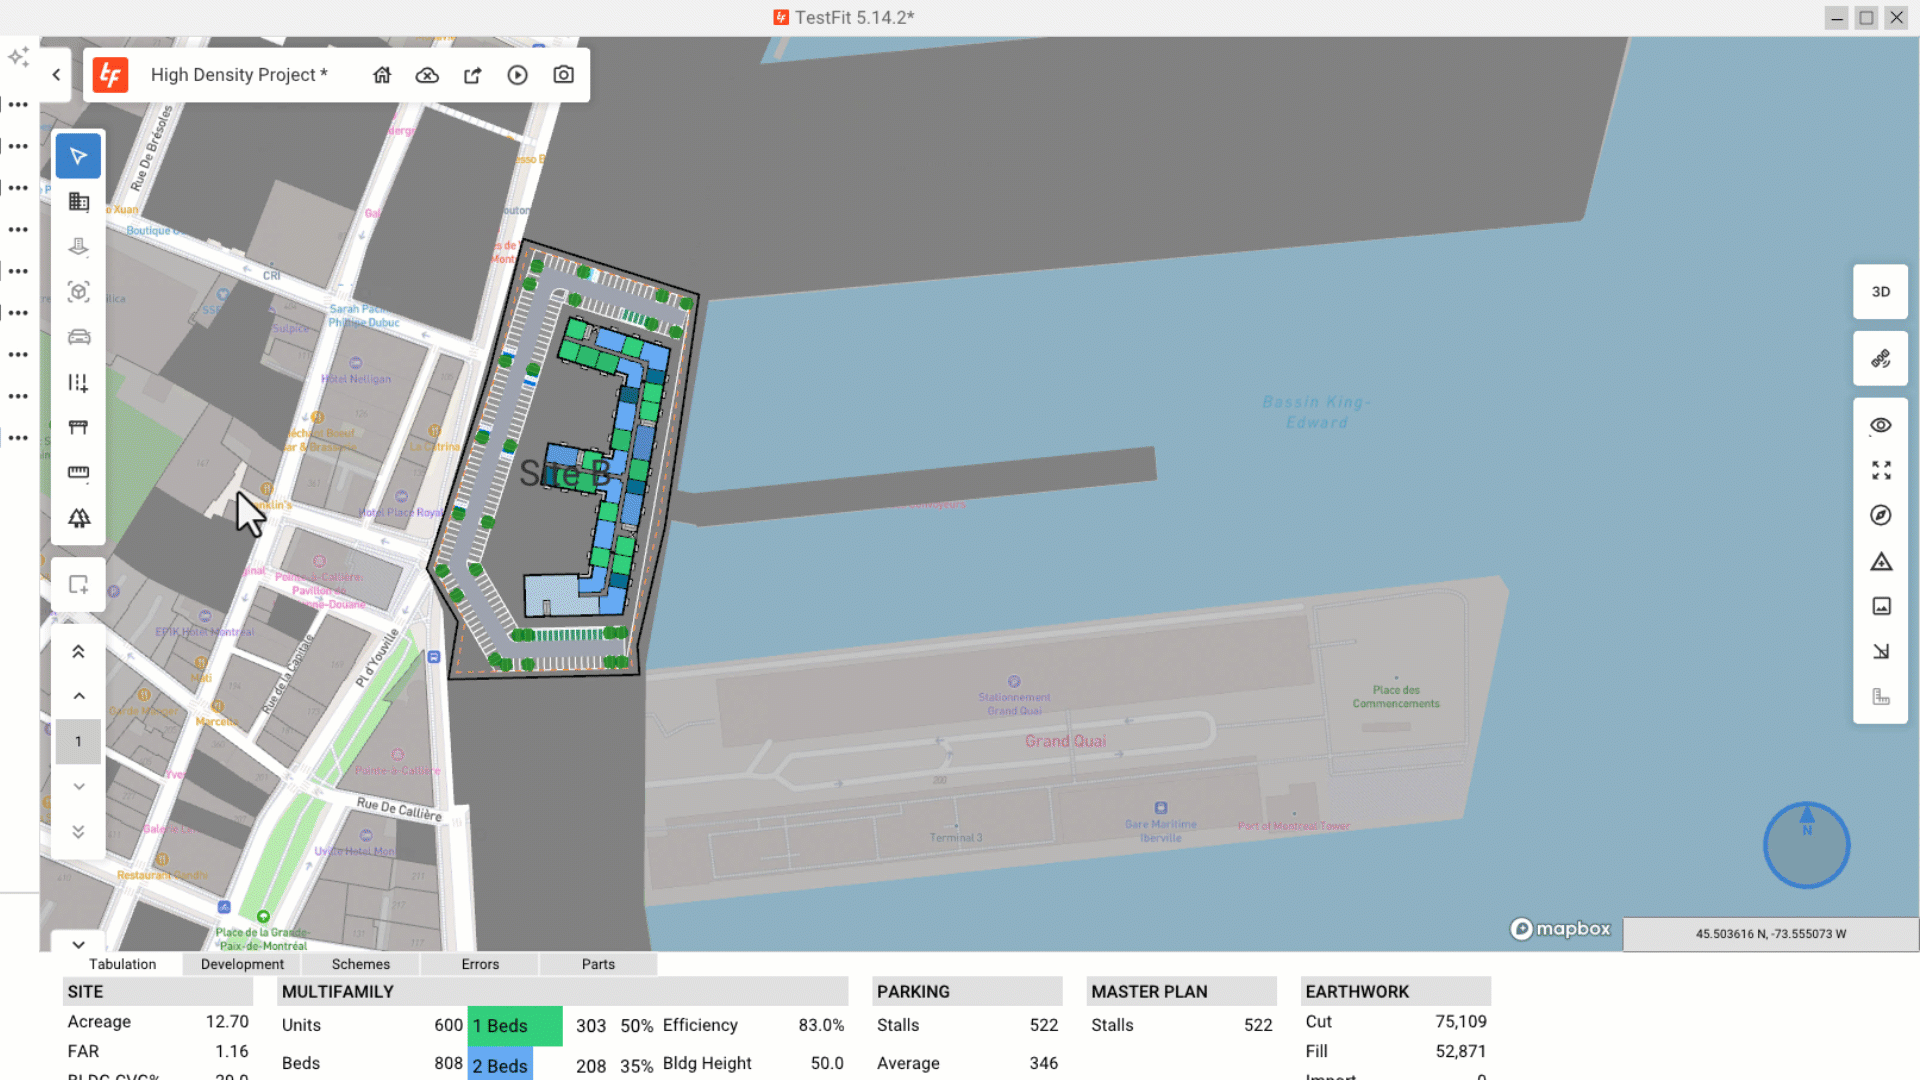
2. Draw a rectangular boundary
3. Draw a path boundary 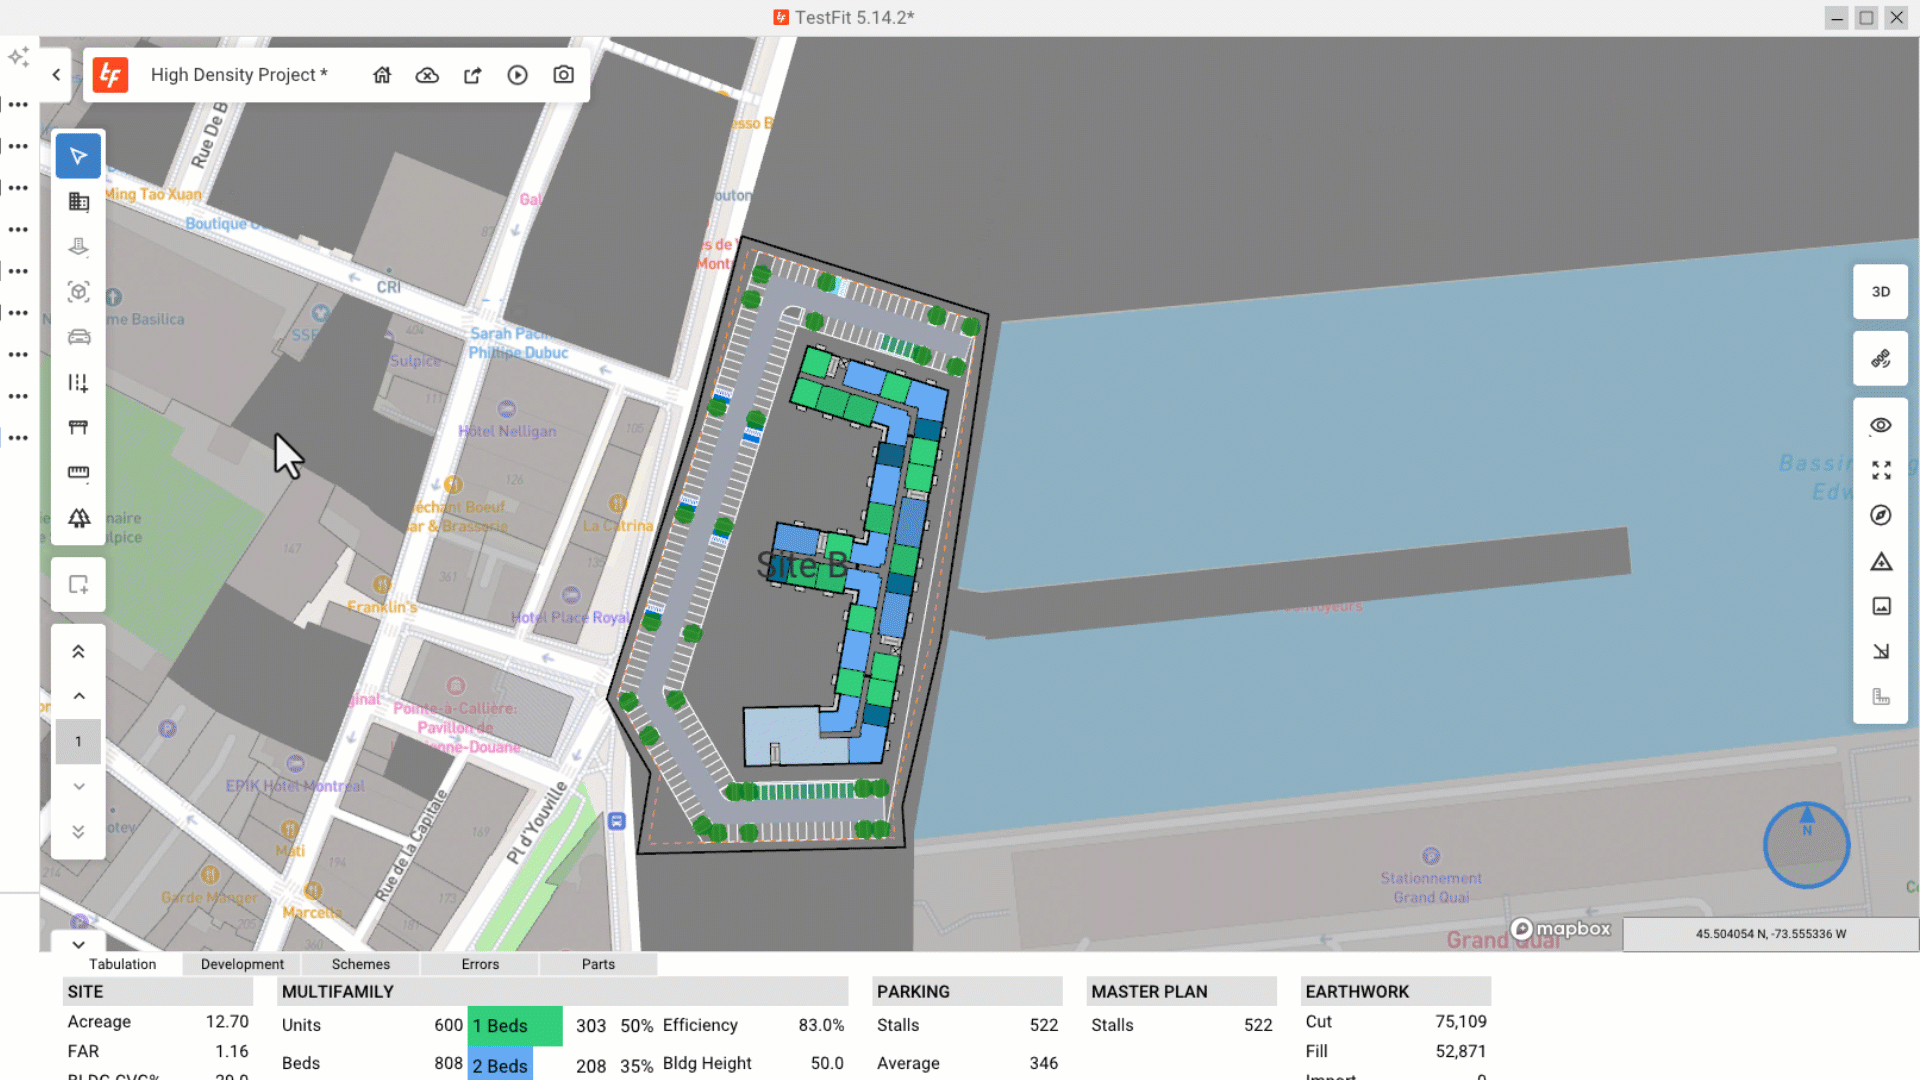
Allowing Roads and Parking over an Easement
Once an easement has been created, select it and toggle the Allow roads and parking to the on position. Surface parking and roads within a site will now be placed on top of the easement.


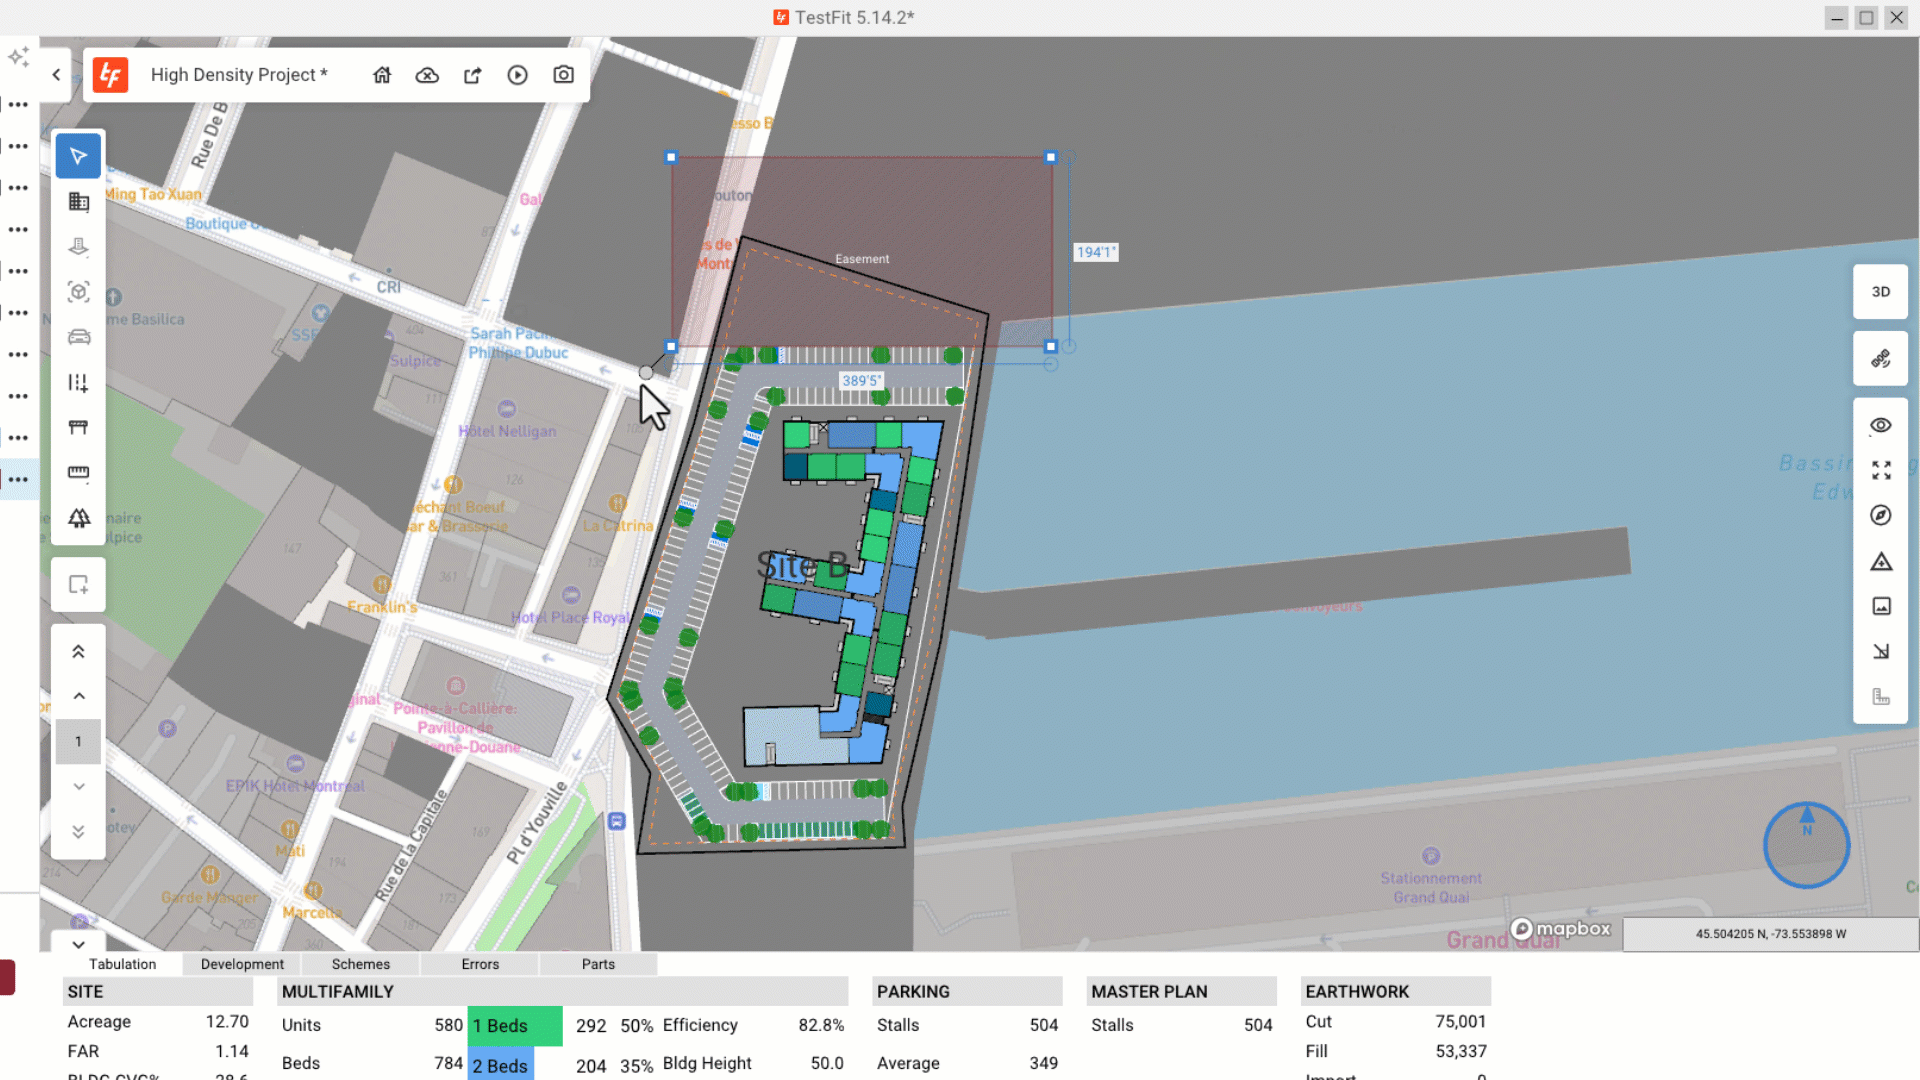
Modifying Easements - Move / Rotate / Add or Remove Nodes
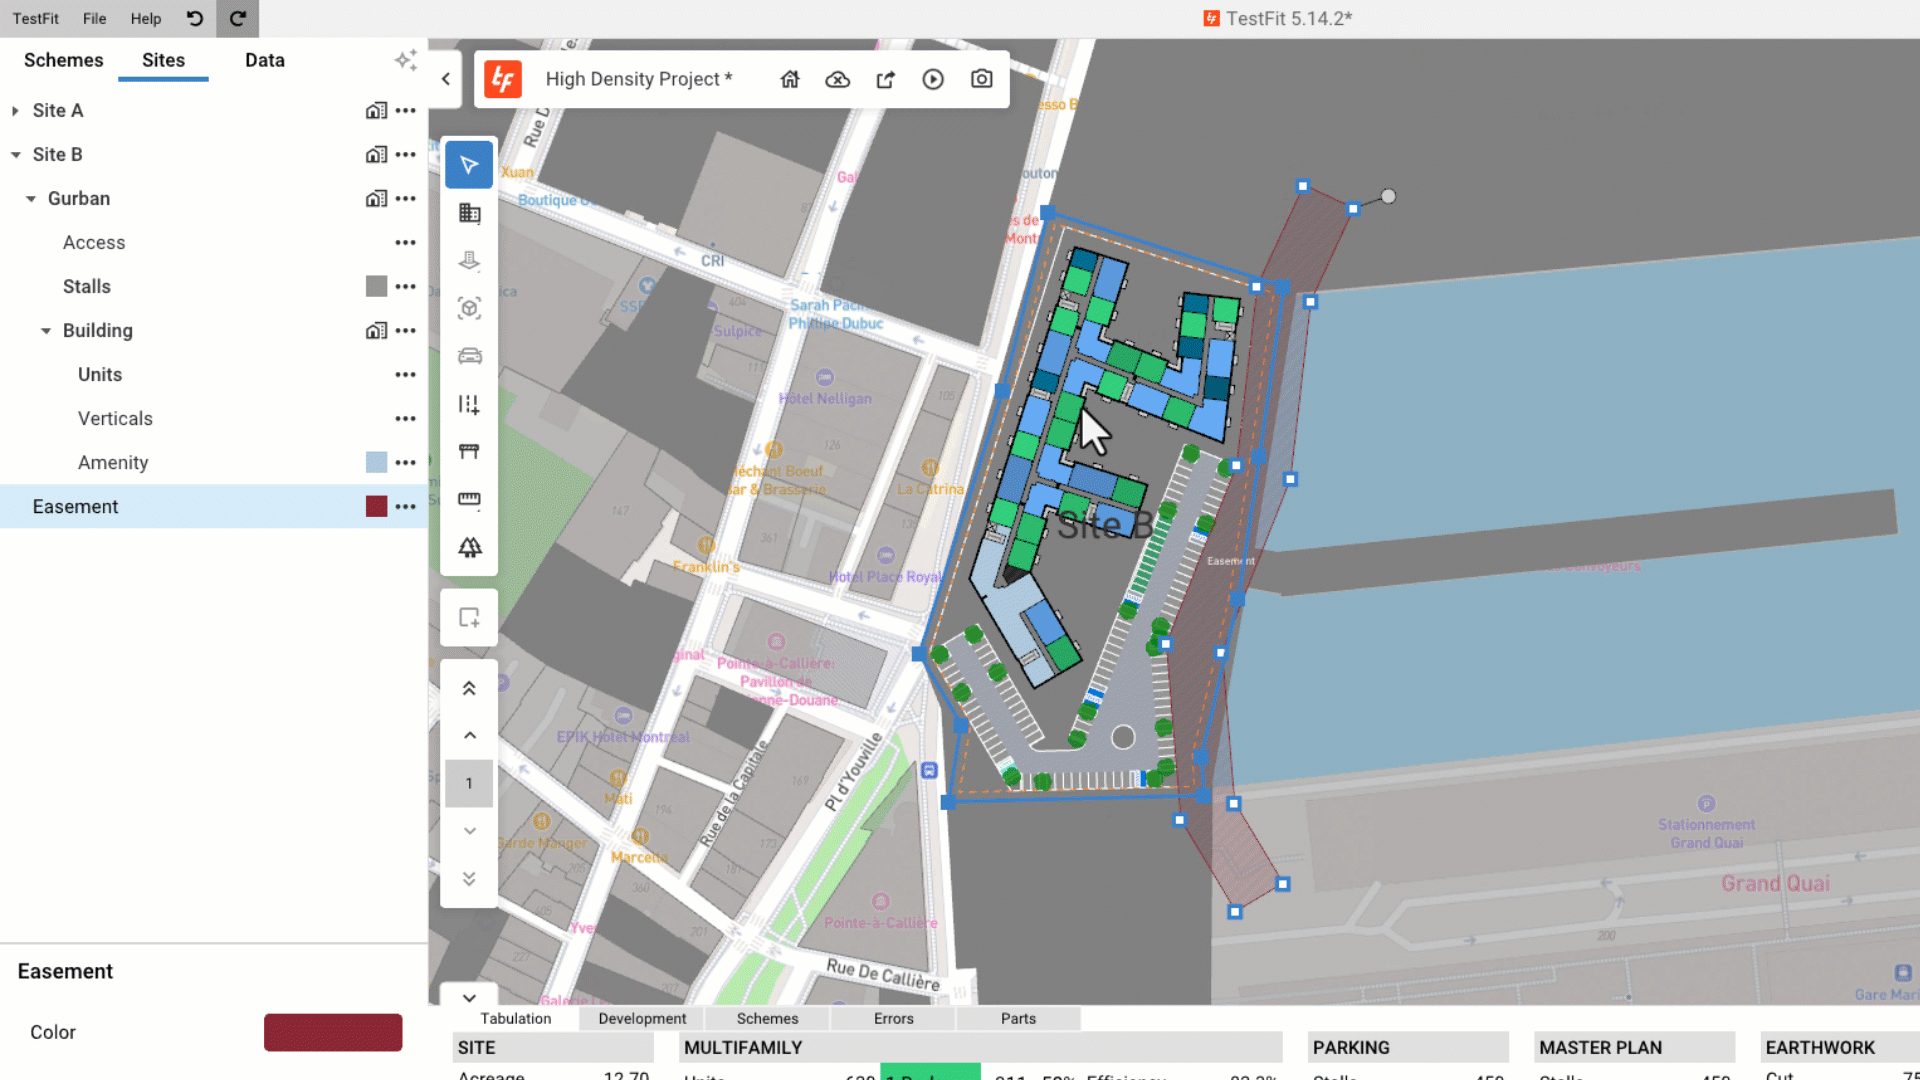
To move an easement, click on the easement, then click and drag the grip.
Right click an Easement to open the context menu in Canvas

You can refine the shape of easements by dragging existing nodes, adding node by shift+clicking, removing points by right+clicking the node you want to remove, then selecting remove.

To rotate an easement, click on the easement, then right+click and rotate the grip.
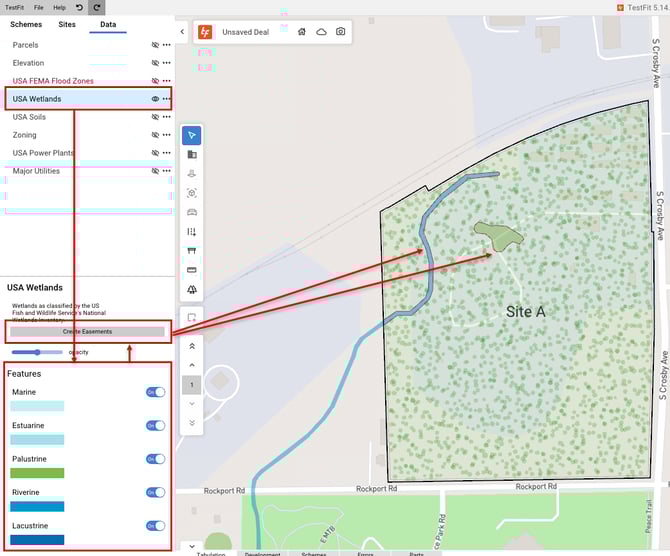
Create Easements from Data Map Layers
Easements can be created using the following Data Map layers (Site Solver License or Site Intelligence Add-On Required):
- USA FEMA Flood Zones
- USA Wetlands
- USA Soils
To create an easement, turn on the correlating Data Map layer.
With the Data Map layer selected in the Nav Tree, scroll down to the Property Panel.
Toggle on/off the regions of the Data Map layer as required. Any regions that are toggled on will be referenced to create easements.
Next, select the Create Easements button. Easements will not populate the areas of the site where the Data Map regions appear.
Modifying Easements
You can duplicate easements and adjust their color if need be to differentiate between various easements.
Easement Offsets
With an easement select click the Create Offset button. You can globally adjust the offset in the properties panel or manually click and drag each node individually.
