
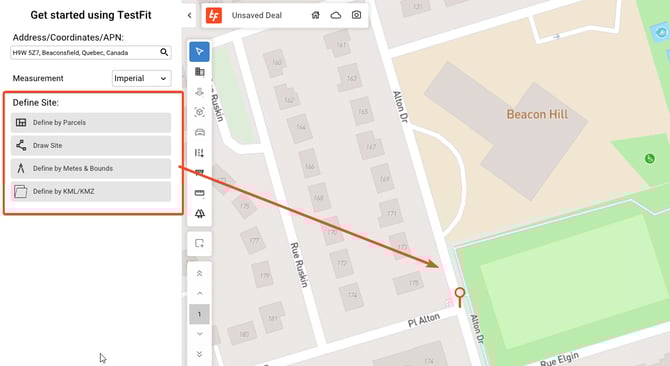
- Search for your site by entering an address, latitudinal/longitudinal coordinates, or an APN

- Specify the measurement system

- Define your site ( by Parcel / Drawing / Metes &Bounds / KML/KMZ). Details on these methods are explained below. Once you've created the site, the lockable deal area appears. Detailed instructions on the site creation methods can be found below.
- Your entire site must fit within the lockable area. Adjust the aspect ratio of the lockable site area with the grips. Move the lockable area by selecting the site itself, click + hold the handle and drag it to the desired area

- You can now create additional sites or modify the boundary of your existing site by use the Site Tools tool.

Defining Your Site Boundary
There are three ways of defining your site:
- Defining by Parcels
- Drawing the boundary of the site
- Enter the Metes and Bounds
- Importing a KML or KMZ file

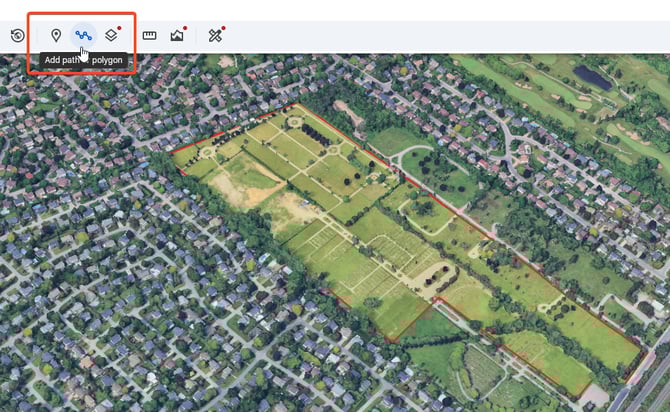
1. Draw Site
To draw the site boundary, click the Draw Site button, and left click to select the bounds of your site.

2. Define by Parcels
To select your parcels, hit the Define by Parcels button, then click and drag over the parcels you want. Releasing the left click will add all the parcels to your site
When hovering over a site, additional parcel information will be shown: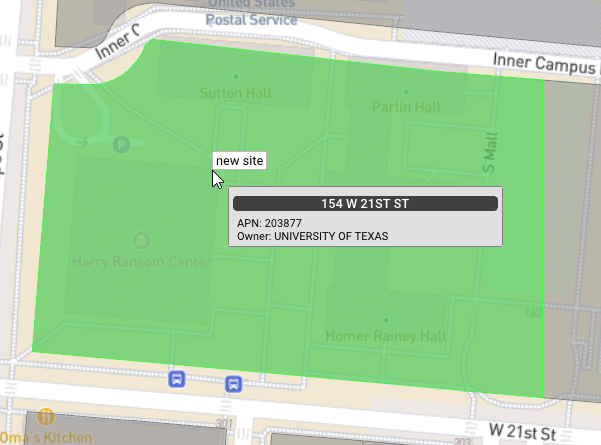
3. Metes and Bounds
For Metes and Bounds, you enter your coordinates.


NOTE: When entering your coordinates, don't enter the last point as TestFit will auto-close the shape.
4. Importing a KML/KMZ File
To add a site using a KML or KMZ file:
- In the site creation menu, select Add by KML/KMZ.
- A file picker will open — locate and select your .kml or .kmz file.
- All polygon boundaries contained in the file will appear on the map for review.
- Select the polygon(s) you want to use as site boundaries.
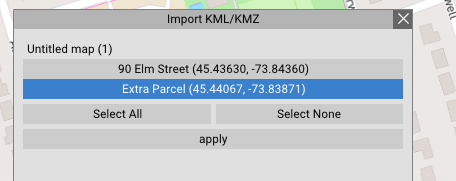
- Click Apply to create each selected polygon as a site in TestFit.
Remember that the Polygons need to be closed shapes.
Merging Sites from Multiple Polygons
If two or more of the imported sites share a boundary, they can be merged into a single site. To learn how to Merge Sites head to this article. This is helpful when a parcel has been split across multiple polygons in the source file but should be treated as a single site in TestFit.
Note: Only polygon geometries are recognized during import. Points, lines, 3D elements and other geometry types in the KML/KMZ file will be ignored.
You are now ready to apply a Mass Based preset or Premium preset