There are two ways to add a regions to a site:
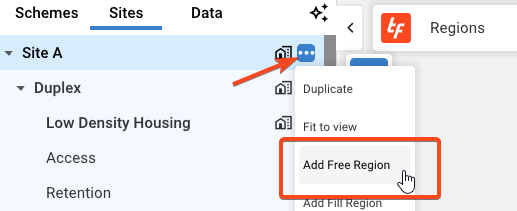
Method #1: Navigation Tree
- Select the existing site in the Navigation tree
- Click the three dots(...)
- Select Add Free Region
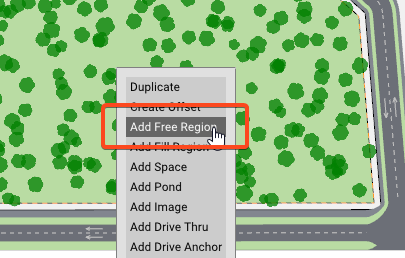
Method #2: Right click inside the site
Defining the boundary of your region
There are three ways of defining the bounds of your free region:
Defining a Rectangular shape (Draw Rectangle):
Drawing the area itself (Draw Outline):
Using the path tool (Draw Path):