
Prerequisites
When using the Interior Fitout tool in the TestFit addin for Revit, there a few things that you'll need to do to make sure the tool works as expected.
- The units in TestFit need to have an underlay image.
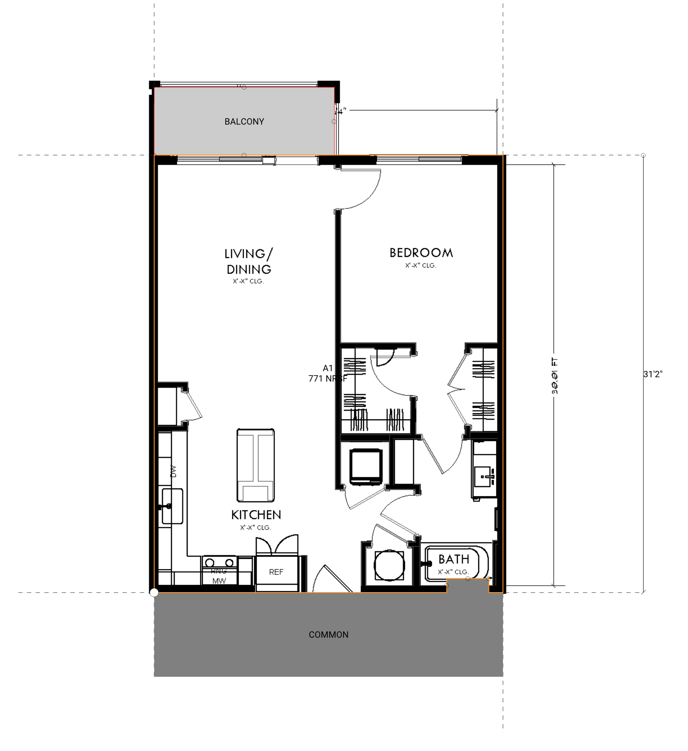
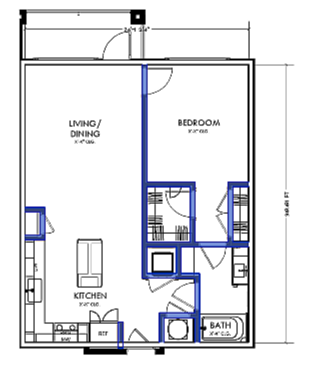
- The model group does not include the exterior walls of the unit.
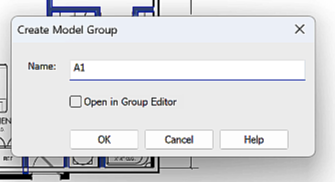
- In Revit, the name of the model group needs to match the name of the unit in TestFit.
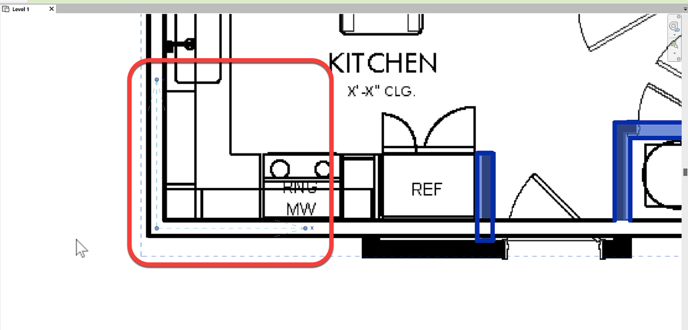
- The anchor point of the model group is at the intersection of the walls in the bottom left corner of the unit.
TestFit
In TestFit, you'll need to insert an image as an underlay.
Revit
- Model the interior fitout of your unit(s).
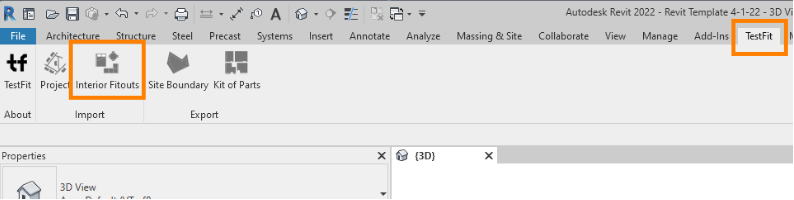
- Open Revit. Click on the TestFit tab, then click on Interior Fitouts.
- Browse for your TestFit .rsd File. Select the Scheme and Site you want to work on.
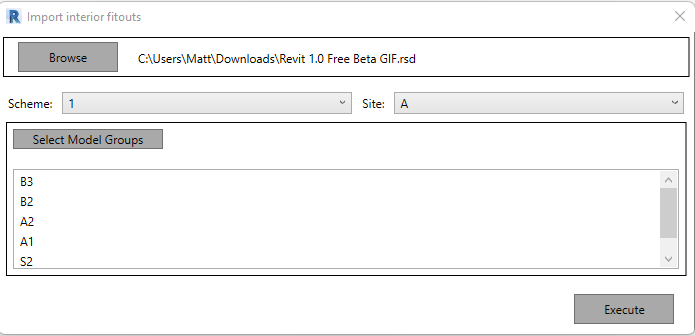
- Click Select Model Groups, Select the model groups within Revit you'd like, then click Finish on the left above the properties tab.
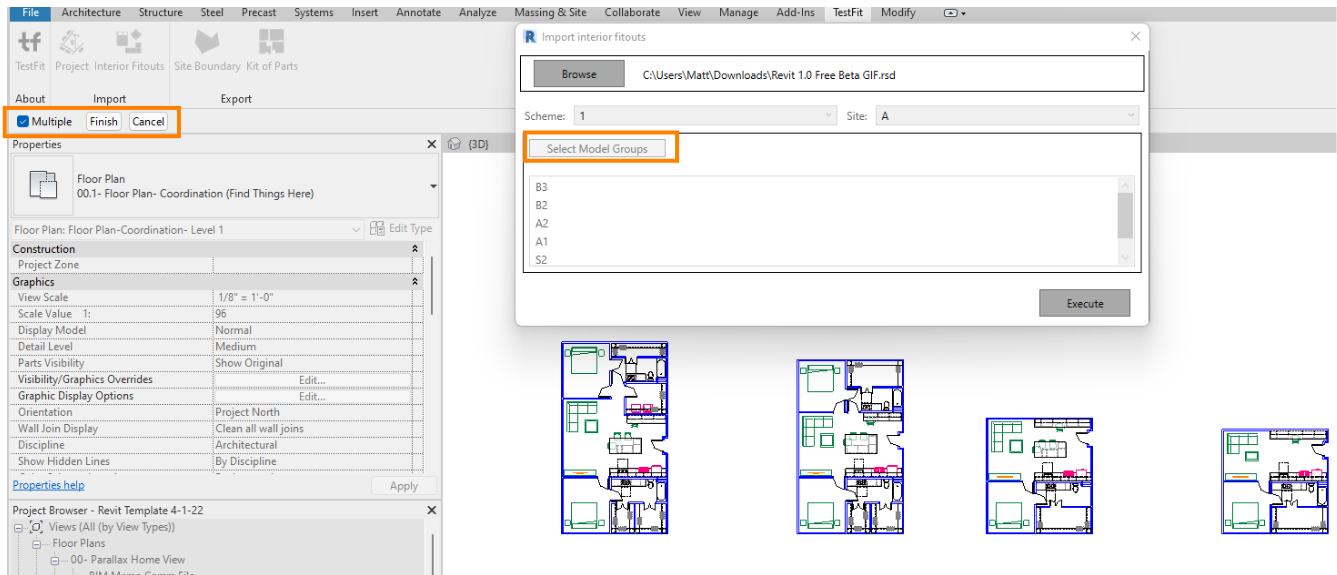
- Click Execute.