
Accessing the Deal Report
-
Save a deal to the cloud to auto-generate its report.
-
Open the deal from the cloud deal pipeline.
-
From the Deal Pipeline, click the action button or ellipsis (
⋯) next to the deal and select Open in Browser.

- From the desktop application, click on Open in Web.

-
Navigate to the Site Overview.
- Expand the Site Overview drop down menu and select Reports.

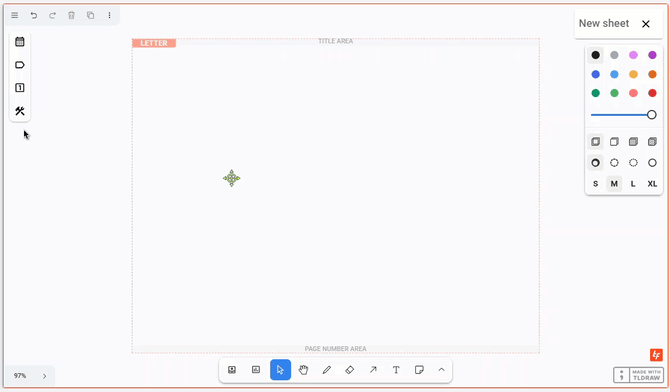
- Reports will open and display the TestFit Default - 3 Pager Template:

Report Templates
Global Templates:
- Default - 3 Pager: includes Cover, Overview, and Detail sheets
- Blank Template: includes a blank sheet
- Auto-Gen Report: includes sheets with views of all level 2D plan views and 3D views for each scheme and site combination within the Deal.
Organization Templates:
-
Create custom templates for your organization following the steps in this article.
Apply a TestFit Template
- Click on the Template icon and scroll down to select and apply a TestFit template.

Report Settings: Changing Sheet Size & Orientation
- From the Report Settings the paper size can be changed from Letter to a variety of available size.

-
The orientation, and other configuration options can also be found in the Report Settings:
- Orientation from Landscape to Portrait
- Sho PDF Preview toggle
- Show Title toggle
- Show Page Numbers toggle
Assigning Subsections and Sheets
- Click on the plus icon and scroll down to select to add a new subsection and/or new sheet to the report.

Adjusting Section and/or Sheet Order
- Select the section or sheet grip icon and drag the layer to the desired location.

- If a sheet needs to be applied to a subsection, drag the sheet to the section header.

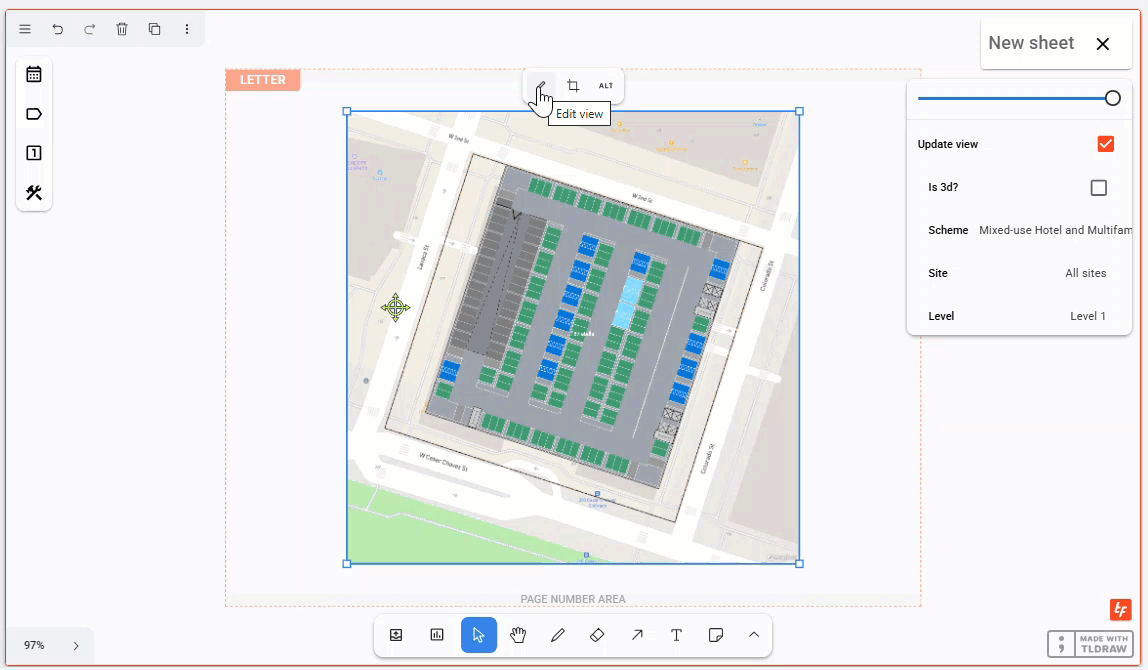
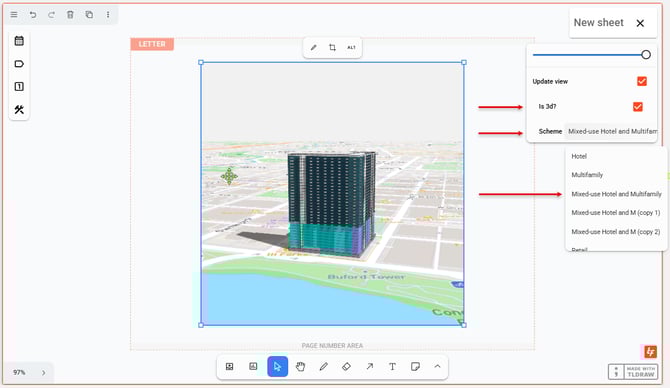
Custom Views
- Select the custom view icon to place a view on a sheet.
- Once the image is placed, click on the Edit view to access the viewport to edit the view.
- In edit mode, you can select the desired scheme and site combination, turn on/off Data Map layers in 2D, change the view to 2D or 3D, scroll in and out, and assign a true north or project north orientation.
- Once all settings are in place, save the view to return to the sheet.
- Views can also be cropped or zoom adjusted on the sheet.
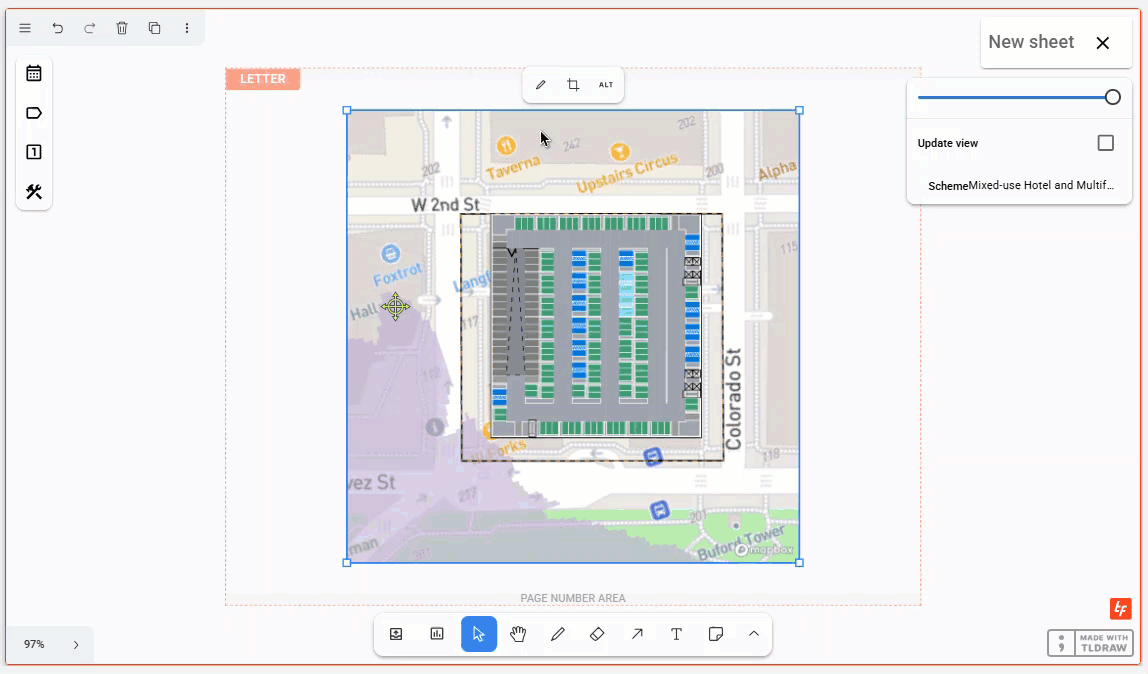
Assigning Scheme, Site and Level in 2D Views
- For 2D views, select and apply the desired Scheme, Site, and Level.
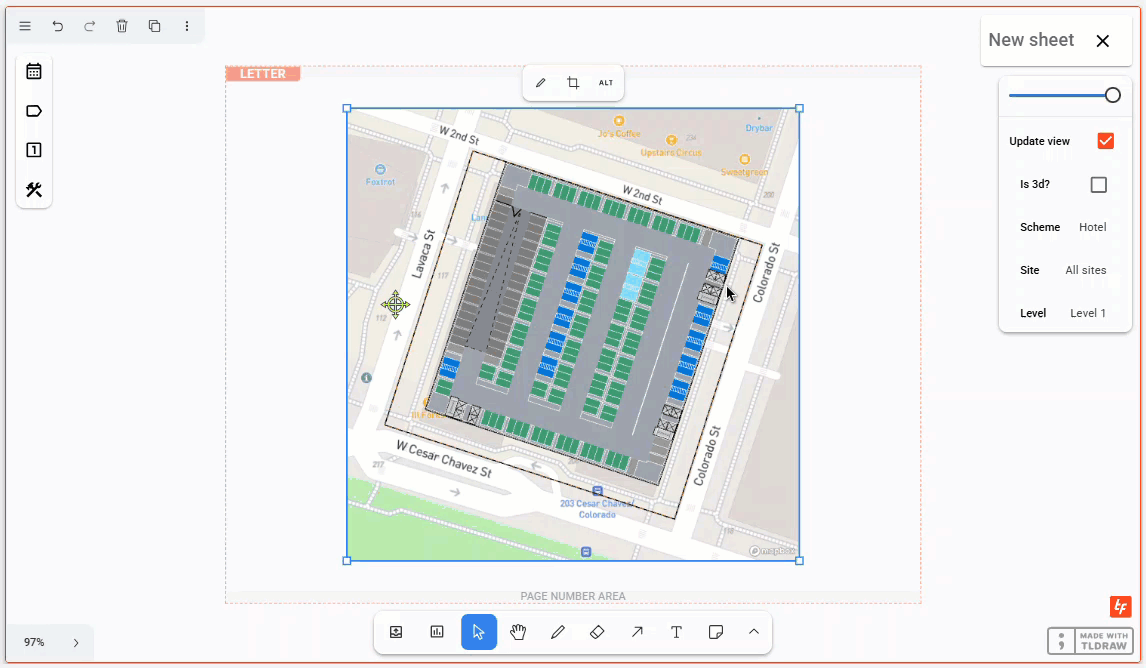
Assigning Scheme in 3D Views
- For 3D views, select the 3D checkbox and apply the desired Scheme.
Managing Visibility Settings
- Sections and sheet visibility can be turned off from shared links or PDF downloads by clicking on the visibility eye icon.

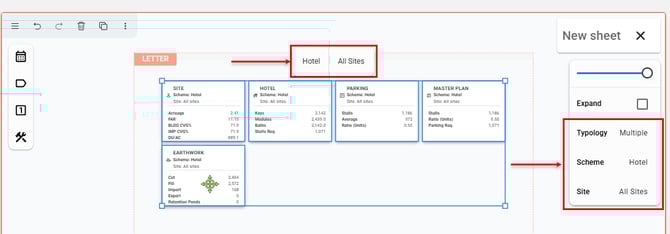
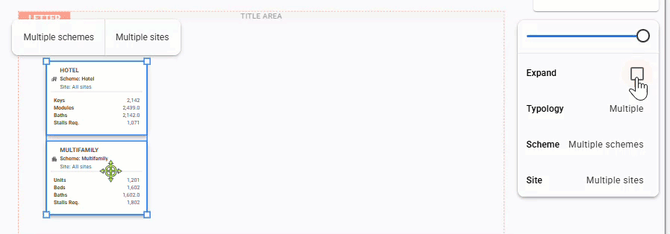
Applying Deal Statistic Cards To a Sheet
- To add a single stat card to a sheet, click to the Deal Statistics button and select the stat card.

- To add all stat cards relative to the deal's site/scheme combination, click on the Place All Statistics button.

- To adjust the scheme/site assignment for a stat card or cards, click on the stat card (click shift or ctrl to select more than one deal stat card at a time) and navigate to the desired scheme/site combination with the drop down menu.
- To Expand the data stat cards to show more detailed data outputs when available, select the deal stat card and check Expand.
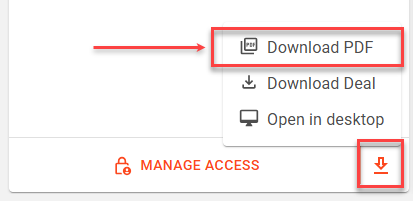
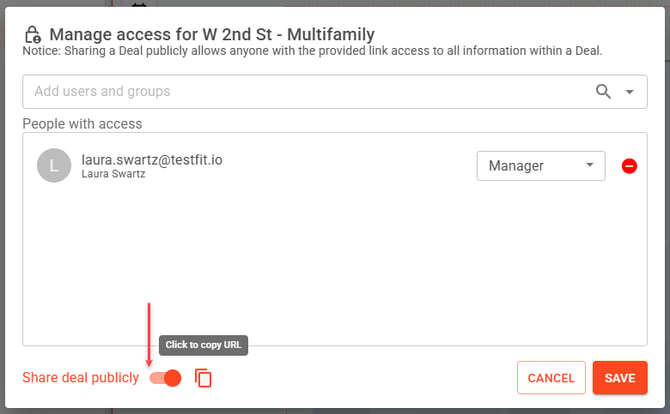
Sharing the Report
-
Share as a curated link under Manage Access or export as a PDF for stakeholders.

- When sharing a deal, you can assign the following roles:
- Restricted
- Reader
- Editor
- Manager

- Note, once the link is active, it is unique. If the link is deactivated, the link will be broken. If the link is reactivated, it will be a new unique link.
- Note, a low-res screen (devicePixelRatio <= 1) will produce a low-res image in the PDF.